Lawn Mower Support
Is the battery from my Greenworks mower interchangeable with the other units?

Each voltage line has its own set of interchangeable tools and batteries but are not interchangeable across different voltage lines. For example, 24V batteries are only interchangeable with 24V tools, 40V batteries are only interchangeable with 40V tools, etc. To see compatible tools within each voltage line, select shop by voltage on the Greenworks site or follow the link: https://greenworkstools.eu/collections/all-voltages

How do I start my mower unit?

Make sure you are starting the unit in the following order, or it will not start:
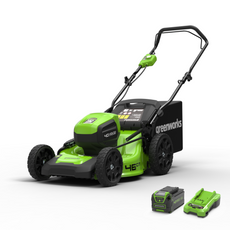
1. Push down and hold the safety switch button. While pressing the safety switch button with one hand, use your other hand to simultaneously pull the bale switch towards you.
2. Once the machine turns on, you can let go of the safety button and continue to hold the bale (lever) handle.

The unit will only start when the safety button is pressed first, followed by the bale switch. If it is reversed, the unit will not power on. Use the correct batteries according to the unit and ensure the batteries have adequate charge. You can either push the button first or pull up the handle—these models are not affected by the start order. If you are using a battery unit, ensure the battery has a full/adequate charge. However, please always refer to your owner’s manual for verification on the starting process as this would be the most accurate source of information.

Can I use a different Greenworks Amp hour (Ah) battery in my unit?

Yes! For most of our current units, as long as the batteries are from the same Greenworks voltage line (24V batteries with 24V tools, 40V batteries with a 40V tools, etc.), the amp hours (Ah) are interchangeable. Please refer to the below link for our voltage line:
https://greenworkstools.eu/collections/all-voltages

Why isn’t my mower turning on?

Battery operated mowers: Check to ensure the battery capacity has an adequate or full charge, then secure the battery into place. If the battery is loose or can easily be removed, it does not have a complete and secure connection. Follow the starting guide located in your owner’s manual for further instruction.

Why is my mower hard to push?

Here are some reasons why your unit may be hard to push:
• The cutting height is set too low for how tall the grass is—move the cutting height up.
• The rear bag is full and is dragging on the ground. Empty the grass bag so it does not drag and add weight as you are mowing.
• The underside of the deck is caked with debris. Clean and clear it so the blade can work more effectively.

General mower care for best results:
• Prior to storage, clean and examine the machine for any damages.
• Store the unit in a dry, covered, and cool location like a garage or shed.
• Ensure that the unit is stored in a secure location that is not accessible to children or any other persons who should not be operating such machinery.

Robotic Mower Support
The robot doesn't seem to wake up when I put it in the charging station for the first time

After production, the robot is put into a “deep sleep” state to conserve the battery. Sometimes a manual action is required to "wake up" the robot.

  1. Turn the security key to the “ON” position.
  2. Place the robot in the charging station (make sure the charging station is connected to a power source)
  3. Press the START button on the robot and then press it back to STOP.
  4. The robot “beeps” and “wakes up”.
  5. Leave the robot in the charging station until the battery is fully charged. This can take up to 140 minutes.

Please note that the first time the robot "wakes up" it will also download the latest firmware. This usually takes around 2 hours. Depending on the speed of the local connection, this may take several hours. In the meantime, you cannot connect to the robot with your app. (Try not to turn off the robot with the key during this time, as the download will then be interrupted and restarted.)

GSM connection and subscription

The robot communicates via a GSM connection. The robot comes with a pre-installed SIM card. The subscription is prepaid for 2 years from the date of purchase. After this period, you will be offered an annual fee of 20 euros / year. This payment is simply made in the app. If you do not want to renew the subscription, the mower will continue to function as usual with the settings you last set. However, you will lose the ability to change settings or use app-specific features such as GPS tracking. You will also not receive any new updates for the mower software.

My Optimow needs maintenance, what should I do?

If you have a problem with your Optimow, contact our support. Thanks to the GSM connection, most problems can be solved remotely. If your robot has a mechanical problem, take it to your point of sale for repairs. If you purchased your Optimow in our webshop, please contact our customer service using the contact form below.

Preparing the robot for service or repair: The robot and charging station are connected to each other, which means that the robot, charging station and power supply must be brought along completely for service or repair purposes. You have to give the workshop the PIN code so that it can connect to your robot (by the way: you can easily change the code afterwards). Checklist for handing over the robot for service or repair:

  1. Fully charged robot
  2. Charging station
  3. Power adapter
  4. PIN code
  5. Your contact details in case the technician needs to contact you.

Pack the parts in a suitable box. Do not pack the parts on a pallet

The robot behaves strangely in the work area

If the robot reacts strangely in the work area, first check whether the boundary wire was accidentally twisted. Particularly affected areas where this can happen are obstacles such as flowerbeds, ponds or trees that the robot does not enter. Create a new loop code easily in the app.

  1. Place the robotic lawnmower in the charging station.
  2. Select your Optimow in the app ----> Go to "Settings" ----> Scroll down -----> Press "New Loop Code"
  3. A beep will be heard as confirmation. If this is not the case, press “START/STOP” and repeat the process. If you have problems with your robotic lawnmower, please contact our customer service.
My robotic lawnmower no longer seems to respond. How can I reset it?
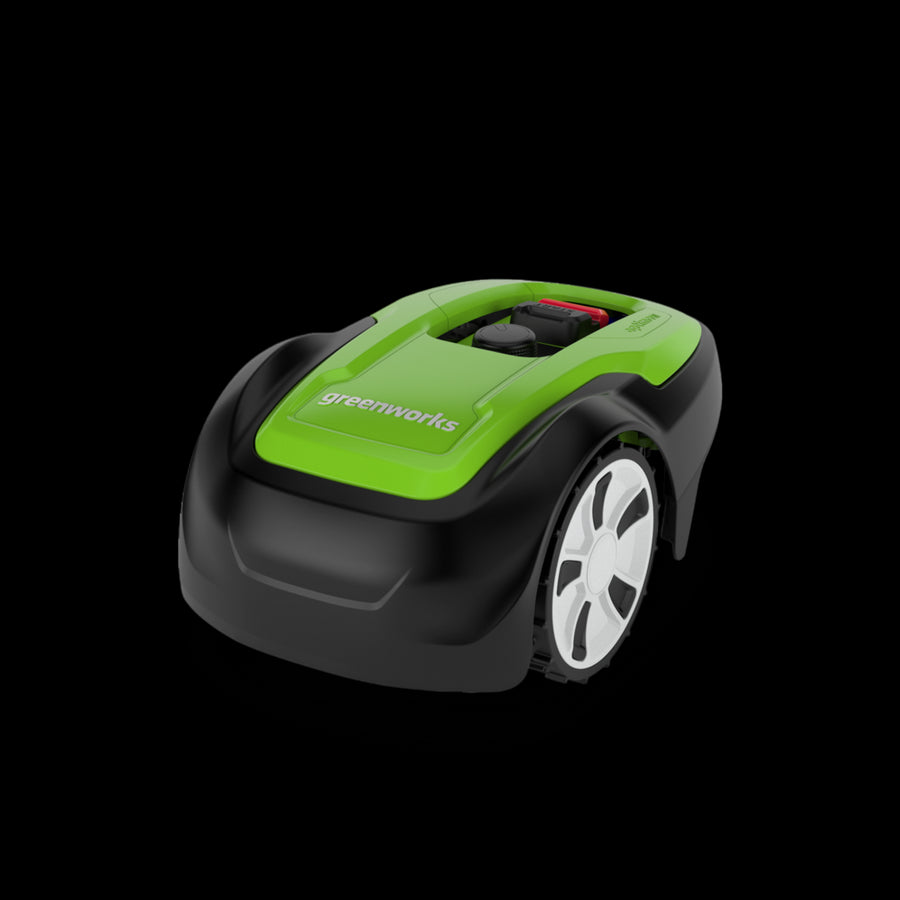
You can reset your Optimow by:

  1. If the robot is in the charging station, remove it and place the robot in the cutting area.
  2. Turn the security key to OFF and remove it.
  3. Wait for 10 seconds.
  4. Insert the security key and turn it on.
Chainsaws Support
What is the run time?

The run time of a chainsaw is measured in cuts per charge. The number of cuts per charge or “runtime” that you receive would depend on the load acting on the saw (i.e., the thickness and type of wood being cut) as the chainsaw would use more battery power on tougher and thicker objects being cut.

How thick of a branch can I cut with a pole saw?

Pole saws are typically used on branches less than 15 cm in diameter.

Why isn’t my chainsaw turning on?

For chainsaws with an active chain brake, please ensure that it has not been accidentally engaged. If it has, simply pull it towards you and attempt starting the saw again. If the saw still will not start or your saw does not have an active chain brake, please make sure that the battery is fully charged and has been properly engaged in the saw prior to starting.

How large of a branch/log can I cut with a chainsaw?

If you are looking to cut logs with one pass, the log needs to be about 5cm smaller than the bar. However, there are many techniques to use a chainsaw for larger cuts.

What oil do I use with my chainsaw?

Our chainsaws and pole saws use a standard biological bar and chain oil. You can purchase this from your local hardware store—no specific brand name is required.

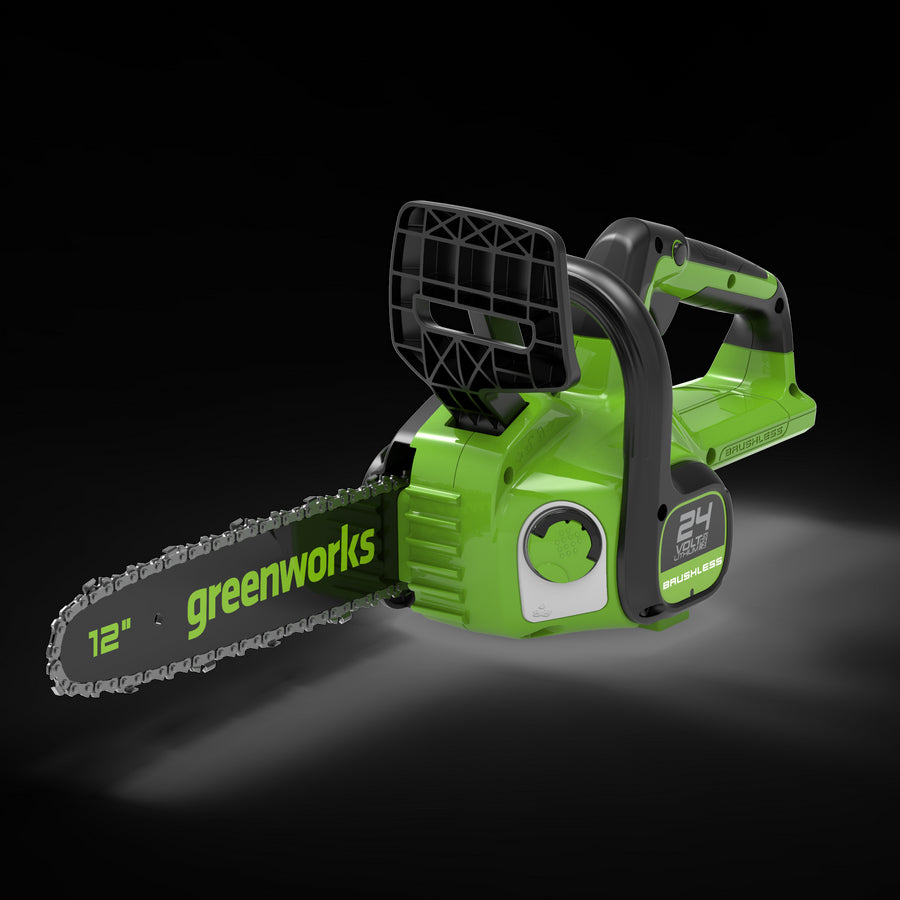
24V Kettensäge 30cm - ohne Akku und Ladegerät
Grass Trimmers Support
Why does my string trimmer not turn on?

Battery operated string trimmer: Check that the battery has enough charge. Make sure to use a fully charged battery when starting your chores. Also, ensure the battery pack is installed and secured in the unit. If the battery is loose or can easily be removed it is not fully secured. A fully secured battery should have some resistance when pulled.

How do I advance line?

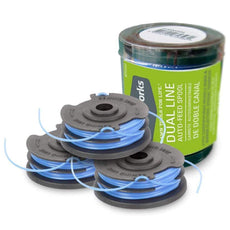
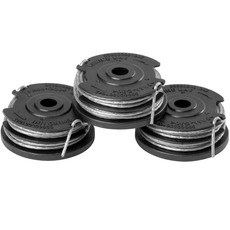
Auto-feed string trimmers: To advance line, simply squeeze and release the trigger and repeat. Each time you start and stop the unit approximately ¼ inch of trimmer line will release. The more often you do this, the more line will advance.

Bump and Feed string trimmers: While the unit is spinning, gently tap the bottom of the unit (knob) on the ground and the string trimmer will release approximately ¼ inch of line each time you tap it. The more often you do this, the more line will be released.

How do I clean my string trimmer?

To reduce yard debris build up on your string trimmer, do the following:
• Wipe the machine after each use with a damp cloth dipped in water or neutral detergent.
• Do not use aggressive detergents or solvents to clean the plastic parts or handles.
• Keep the trimmer head free of grass, leaves, or excessive grease.
• Keep the air vents clean and free of debris to avoid overheating and damage to the motor or battery.
• Do not spray water onto the motor and electrical components.

Why does my unit stop when cutting grass?

Check the following if your unit suddenly stops cutting during use:
• The guard is not on the unit. Ensure the guard is attached for each use.
• The line is too heavy. Make sure you are using the correct cutting line for your unit. Refer to the specification for the correct diameter of line that should be used with your string trimmer unit.
• The motor is overloaded. Make sure that the cutting path (length of line outside of the trimmer head) is no more than the maximum cutting width of your unit.
• The battery may be too warm. Allow it to cool and try again. Remove the battery from the unit and take it indoors to a cool/dry shaded location. Leave for 10 minutes, then try again once the the battery cools.
• The battery pack may require charging or may not be properly installed.

Why is my string trimmer not cutting well?
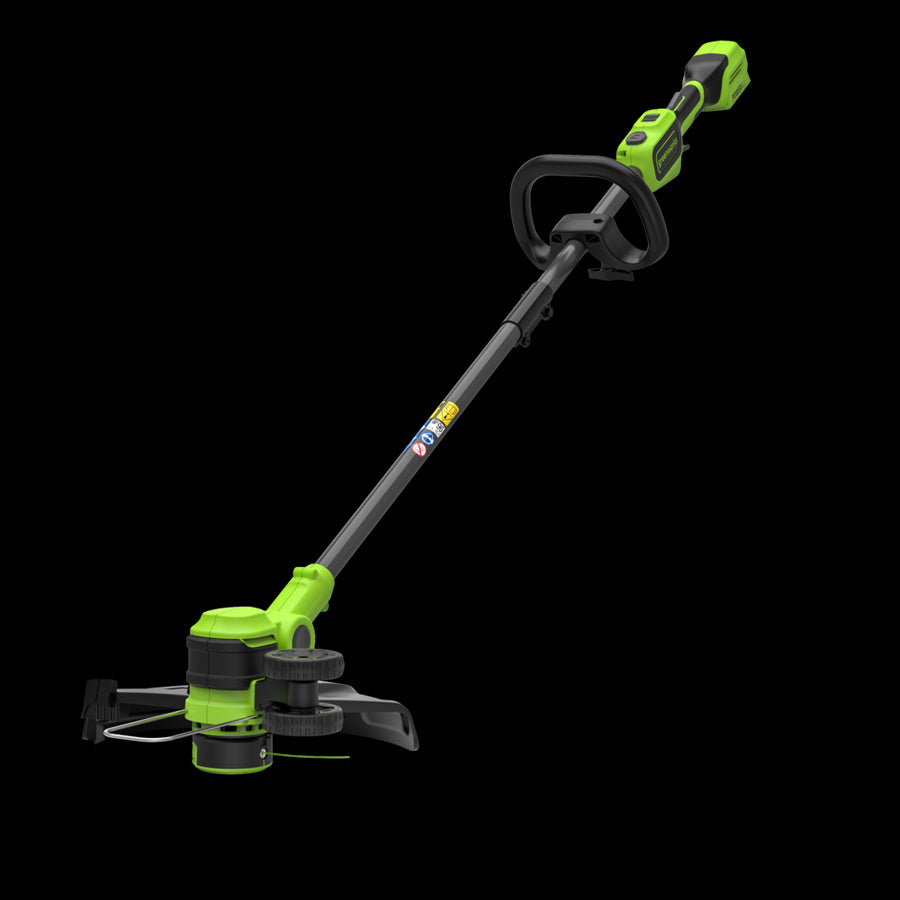
Check that the guard is cleared of debris. Built up debris on the underside of the guard may prevent the line from cutting at its full potential. Ensure the cutting blade located on the underside of the guard is exposed, clean, and clear of debris. If the blade is dull, sharpen or replace the cutting blade. This will allow your trimmer line to work more effectively.

Leaf Blowers Support
What is the most appropriate blower for my property?

Generally, electric leaf blowers have a CFM falling somewhere from just under 200 to 400. If your property is one acre or more, you will probably want a leaf blower with a CFM between 400 to 700.

Can I dry my car or blow snow off my driveway?

We do not recommend using this blower for any task other than leaf blowing.

Why is dust coming out of my collection bag while using my Blower?

This is normal. There are tiny holes in the collection bag that are necessary for its operation. They allow very small particles of dust to pass through.

What is the battery life and how do I maximize it?

To get the most life out of your battery, you should remove it from the charger once it has finished charging. The problem with overcharging is the potential damage it can cause to the battery that can shorten its lifespan. Of course, be sure to read your tool’s instructions as it may indicate that storing your battery on the charger is fine.

Why is my vacuum not collecting garden debris?
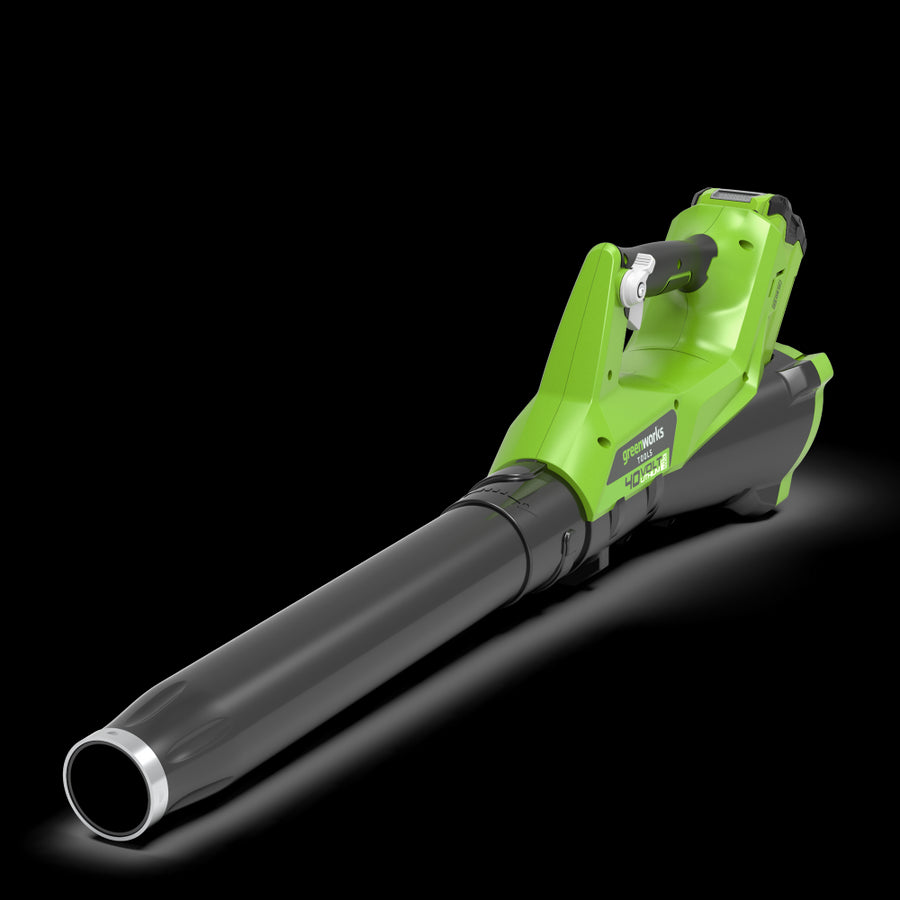
If your blower is not easily picking up leaves, ensure that the nozzle is close enough to the leaves/debris. Also, make sure that the mode indicator is on the correct setting. Press the low/high switch to increase the speed options. The unique design of the blower-vac means that only lightweight, low density objects such as leaves and garden debris will be collected. It is worth noting, higher density objects such as stones and sticks will not be collected. If you are finding that the unit is still not picking up garden debris, it may be necessary to remove the blower tube or mulcher tubes to clear a blocked tube or impeller. Please be sure to remove the battery or unplug the unit before checking the tube or impeller.

40V Laubbläser - ohne Akku und Ladegerät
Batteries & Chargers Support
Can I use any Greenworks battery in any Greenworks tool?

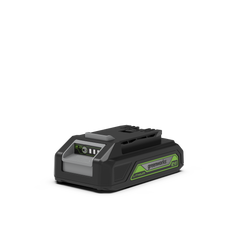
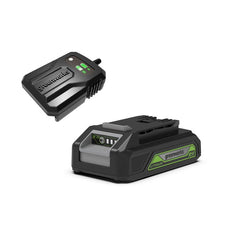
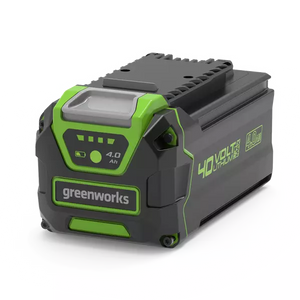
No, our batteries are generally only compatible and interchangeable with tools that belong to the same voltage platform (i.e. 24V batteries only work with 24V tools, 40V batteries only work with 40V tools, etc.). The difference between batteries of the same voltage is the ampere-hour (Ah) rating. The higher the ampere-hour rating on the battery, the longer it will run in the tool.

Do all batteries of the same voltage use the same charger?

Yes! Each product line has designated charger models that can charge all batteries in that voltage platform regardless of the amp-hour (Ah) rating.

The charger indicates that my battery is fully charged but I was just using it and it depleted. Why isn’t it charging?

Putting a battery that was just in use onto the charger can often result in a false full charge status. Remove the battery from the charger and allow it to rest in a room temperature area for about 10-15 minutes before attempting to charge.

My charger is flashing red when I engage my battery. What is happening?
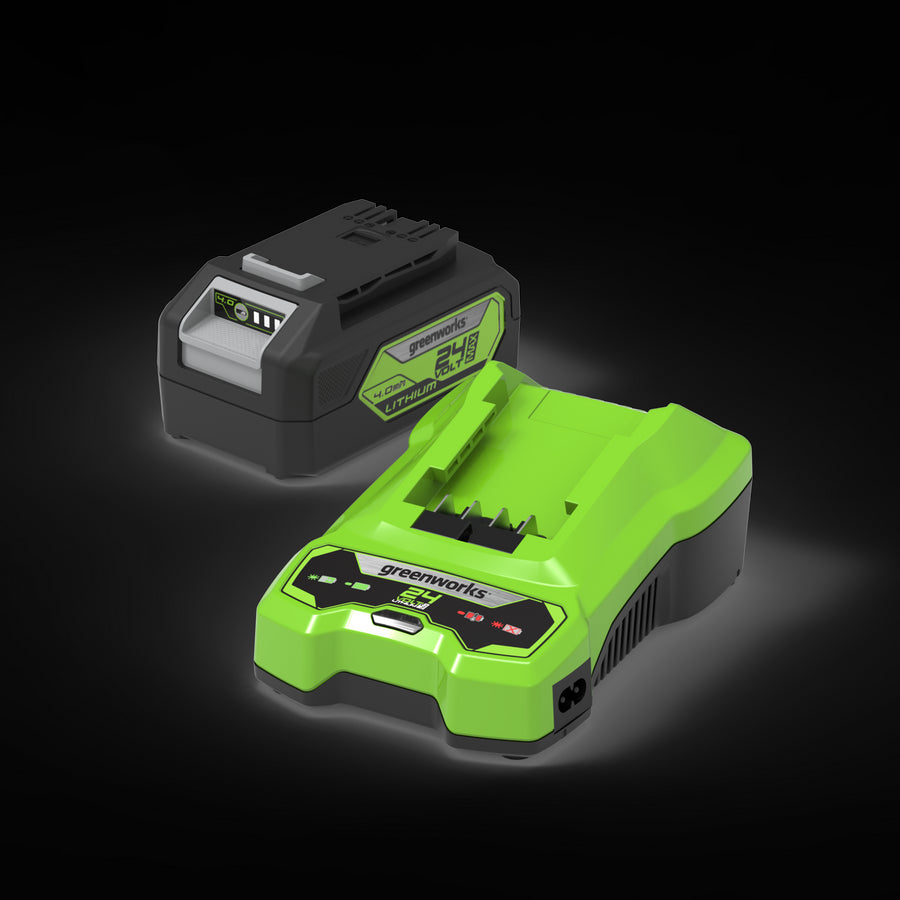
When the battery is inserted into the charger and the status LED blinks red, remove the battery from the charger for one minute, then reinsert. If the status LED blinks green, the battery is properly charging. If the status LED is still blinking red, remove the battery and unplug the charger for one minute. After one minute, plug in the charger and reinsert the battery. If the status LED blinks green, the battery is properly charging. If the status LED is still blinking red, then this likely indicates an issue with the battery or charger and should be taken care of either through our warranty department or by means of replacement.

My charger has a solid red light on it when I engage my battery. What is happening?

This typically indicates that the battery is at the wrong temperature to be charged. Allow the battery and charger to rest indoors at room temperature until they are no longer hot/cold then attempt charging again.

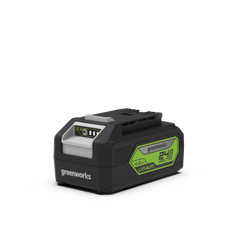
24V Starter Kit 4Ah Akku und Ladegerät
Hedge Trimmers Support
Are replacement blades available?

No. The blade is a part of the motor assembly and is not able to be easily replaced by the customer—the blade should be sharpened instead. In most cases, it is required to take the unit to a qualified technician for sharpening. We do not advise the customer to sharpen hedge trimmer blades themselves unless they are familiar with this task.

What should I do if the blade has jammed (motor hums, blades not moving)?

Option A – Model has an anti-jamming function: If the branch is blocked in the blade, press the anti-jamming button on the control panel, the blade will reverse twice then the branch will release. You can clean the blades by removing any other dirt and debris using a paint brush and then applying a light machine oil—WD-40 or a similar product is recommended.

Option B – Model does not have an anti-jamming function: To fix a jam, start by removing the battery or unplugging your unit. Clear the debris and then clean the blades by removing any dirt and leftover debris using a paint brush and then applying a light machine oil—WD-40 or a similar product is recommended.

What is the run time?

Hedge trimmers that come with a 2.0Ah battery can provide up to 50 minutes of run time under a light load. However, run time will vary depending on the battery and how the trimmer is being used.

What is the cutting capacity?

Depending on the model, cutting capacity varies between 1,5 cm or 3 cm. Refer to the owner’s manual for specifics.

Why will my hedge trimmer not turn on?
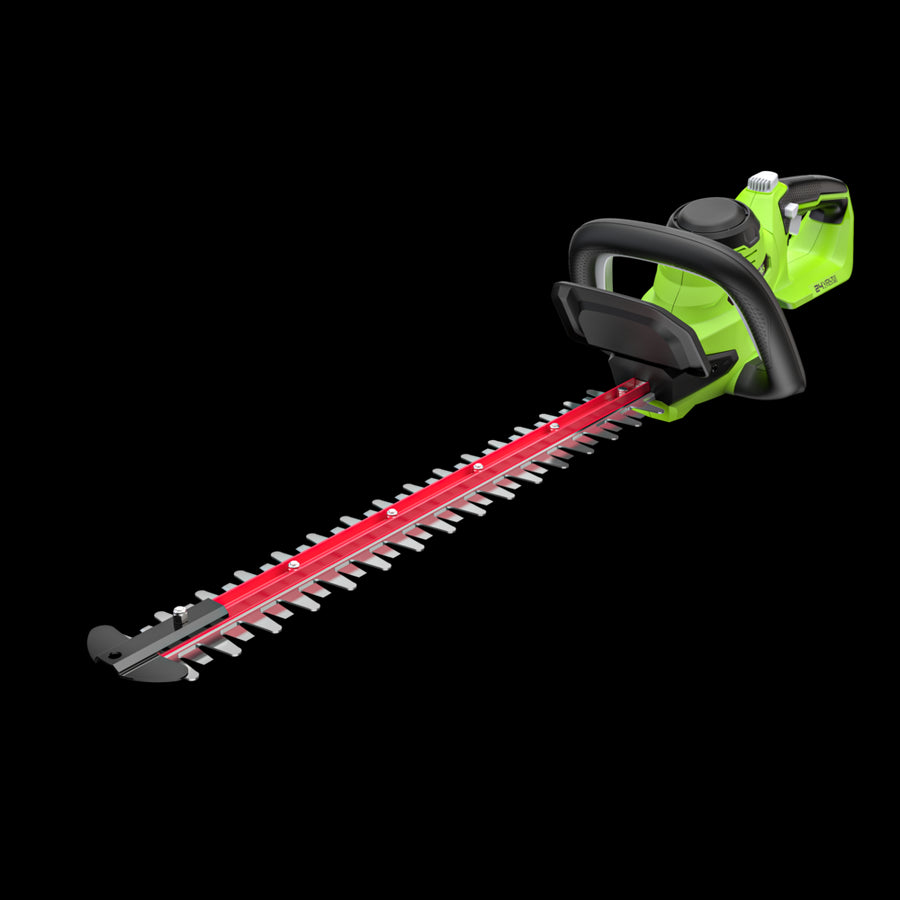
A lot of the time this means the battery has not been fully inserted. On both the charger and the unit, you will know the battery is properly secured in when you hear a click sound. You will also be able to determine if the battery is fully inserted if you are not able to pull the battery back out without pushing the release button located on the battery. If the handle rotates, ensure that it is locked in position or the unit will not start.

Pressure Washer Support
The pressure washer starts and then shuts off. Why?

If your pressure washer is experiencing this issue it can often be resolved with the below troubleshooting:

Cleaning Obstructed Nozzles
Over time with use, the pressure washer nozzles may collect dust, dirt, and calcium build-up which as a result cause the pressure washer to malfunction while in use. To clean nozzles, soak them in a 50/50 mixture of white vinegar and warm water for a minimum of 15 minutes. Then proceed to poke your nozzle cleaning tool or paper clip through the end of the nozzle hole to poke out any debris. After you have done this, rinse them with warm water.

Purge Air from Pressure Washer
Set up the unit as per usual and ensure you are not using an extension cord. Remove any nozzle that may be connected at the end of the wand. Make sure that you have a green light on the GFCI on the power cord. Turn your garden hose on but leave the pressure washer turned OFF. With the pressure washer turned off, squeeze on the trigger for about 3 minutes, allowing the water to run through the unit at no pressure. In doing so, you are bleeding the unit out of any air that may be stuck in the pump. After 3 minutes, turn the unit on. Reinstall one of your clean nozzles and continue using the unit. At this stage, if the unit shuts off when a nozzle is installed be sure to try all nozzles. A faulty nozzle may cause the unit to shut down.

Why will my pressure washer not start?

Please be sure to go through the possible causes below:
• Make sure the outlet is supplying proper power to the unit. Be sure to check the electrical requirements of your pressure washer and ensure that the circuit can support it. For some of our more powerful units, they must be the only item on the circuit.
• If using an extension cord, remove it and try connecting the unit directly to an appropriate outlet.
• The pump has residual air pressure. Purge the unit by turning the machine off and pulling the gun trigger for a few minutes to release pressure then try turning the unit back on.
• If there is residual friction among components the unit might emit a humming noise but not turn on. To resolve this, disconnect the water supply and turn the unit on for 2-3 seconds. Repeat this a few times or until the motor has successfully powered up.

Why is my pressure washer not reaching high pressure?

Please check the following if your unit is not reaching high pressure:
• You are using a 1” (25 mm) or 5/8” (16 mm) garden hose.
• There are no kinks, leaks, or blockages at the inlet filter or in the garden or high-pressure hose.
• The water supply has been fully opened and is ideally 60 PSI (unit tolerates 45-75PSI).
• A high-pressure nozzle is installed.
• There is no air in the pump. Purge the unit by turning the machine off and pulling the gun trigger for a few minutes to release pressure then try turning the unit on.

Does my water source have to be a certain PSI to run the unit properly?

Yes, the ideal input pressure is 60 PSI. However, the tolerance of the 60 PSI is 25% (unit tolerates 45-75PSI). If the inlet pressure is below 45 PSI, it will lead to a pressure drop and the machine will not pressurize properly. This often causes the unit to vibrate and sputter. Any higher than 75PSI and the unit may receive internal damage from too much pressure, breaching seals, triggering the thermal valve etc. If the unit does not have the correct PSI, it will not run correctly and the motor can be damaged.

Can I use hot water with your pressure washers?
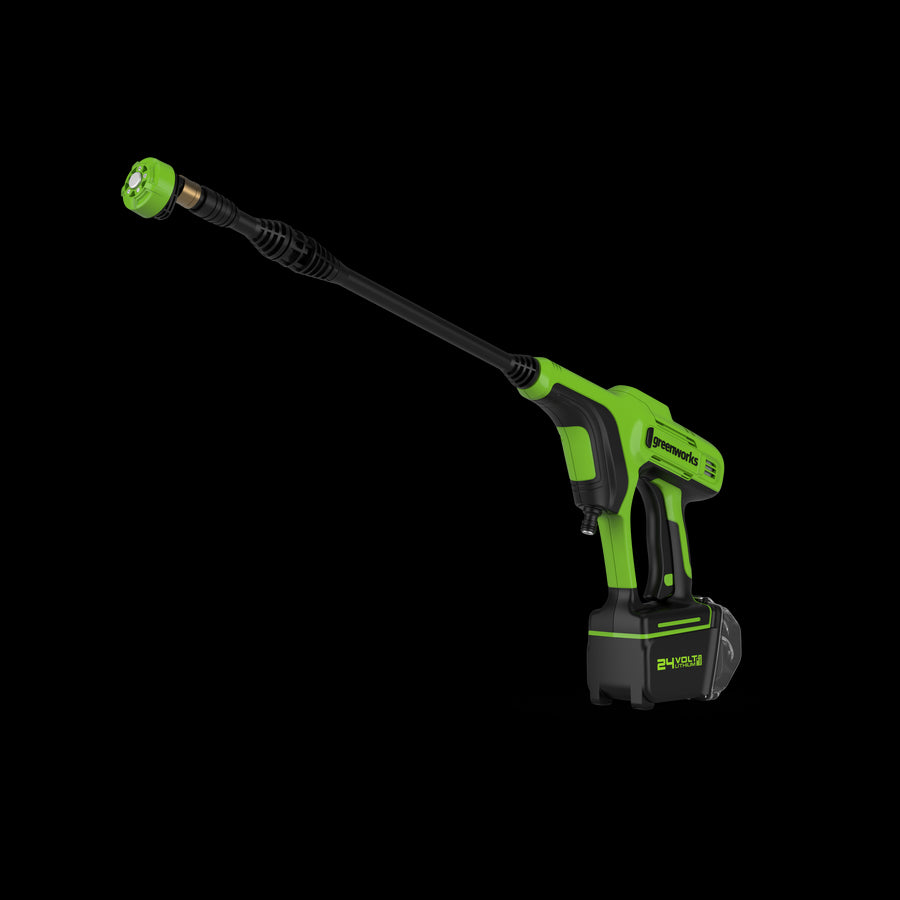
No, we only offer cold water pressure washers. The maximum inlet water temperature should not exceed 40 °C.

24V Hochdruckreiniger - ohne Akku und Ladegerät